laurenbuilds.wordpress.com
7.3.12
29.2.12
Week 5: Sheeting the roof and laying radiant heating tubing.
At the end of last week and starting this week work continued on the roof and on our interior floor. We split into two groups to construct our end gables and eyebrows, sheet each side of the roof, and take turns shoveling gravel in and leveling the interior of the house. We formed 6 inch interior shear walls between our bedrooms and bathrooms. To insulate our floors, we first laid 2 inches of insulation board, then stapled our radiant in-floor water tubes in serpentine patterns on the floor. To maintain building code standards, each of our bathroom floors is poured concrete.
We are running radiant heating tubes through both the concrete and our adobe floors. It took some clever calculation on Eric's part to ensure we were using the proper amount of tubing in each of our heating zones. The radiant heating will pass hot water through the floor, starting on the north side of the house, which will receive less passive solar heat through the windows. The water then twists down to the south floor, which will receive more sunshine and will likely maintain, if not increase, the heat of the water in the tubing. This tubing system distributes heated water through the floor to keep the homeowners' toes toasty. It will be the only embodied energy heat input in the house- the passive solar and in-floor radiant heat, combined with excellent insulation from our straw bales, will keep the house comfortably warm year round.
24.2.12
Week 4: Pushing up trusses.
Seeing our beams up made us interns realize we were actually building a house. Then we started putting the trusses on, probably the most harrowing experience of the build so far. Each side is lifted to the top of the beams, then we use a long two-by-four to push the peak of the truss into place. Teams at ladders on each end nail the truss into place, while Eric hangs off the last truss and adds supporting boards on top.
Week 4: Pulling the concrete forms and insulating the foundation.
We peeled the tarp blankets back from our concrete foundations to find that they set well over the weekend. The next steps for the foundation were wrapping it in more insulation panels to be at least 3″ thick. When we poured concrete, we set bolts close to the edge of the exterior wall. Now we drills holes through pressure treated two-by-fours to match the bolts. This forms a rail inside the perimeter of the foundation that we will nail our framing into. The most difficult part was chiseling out wood in spots where the bolt wasn’t the perfect height. While many of us worked on these tasks, one intern, or Eric, was handling the power digger (it definitely has a more specific name that I cannot currently remember). We were all thankful for the hours of digging it saved us. Our plumber, Mancus installed our bathroom and kitchen pipes and water lines, as well as potential future greywater pipes.
22.2.12
17.2.12
Week 3: Ground breaking and forming and pouring the foundation.
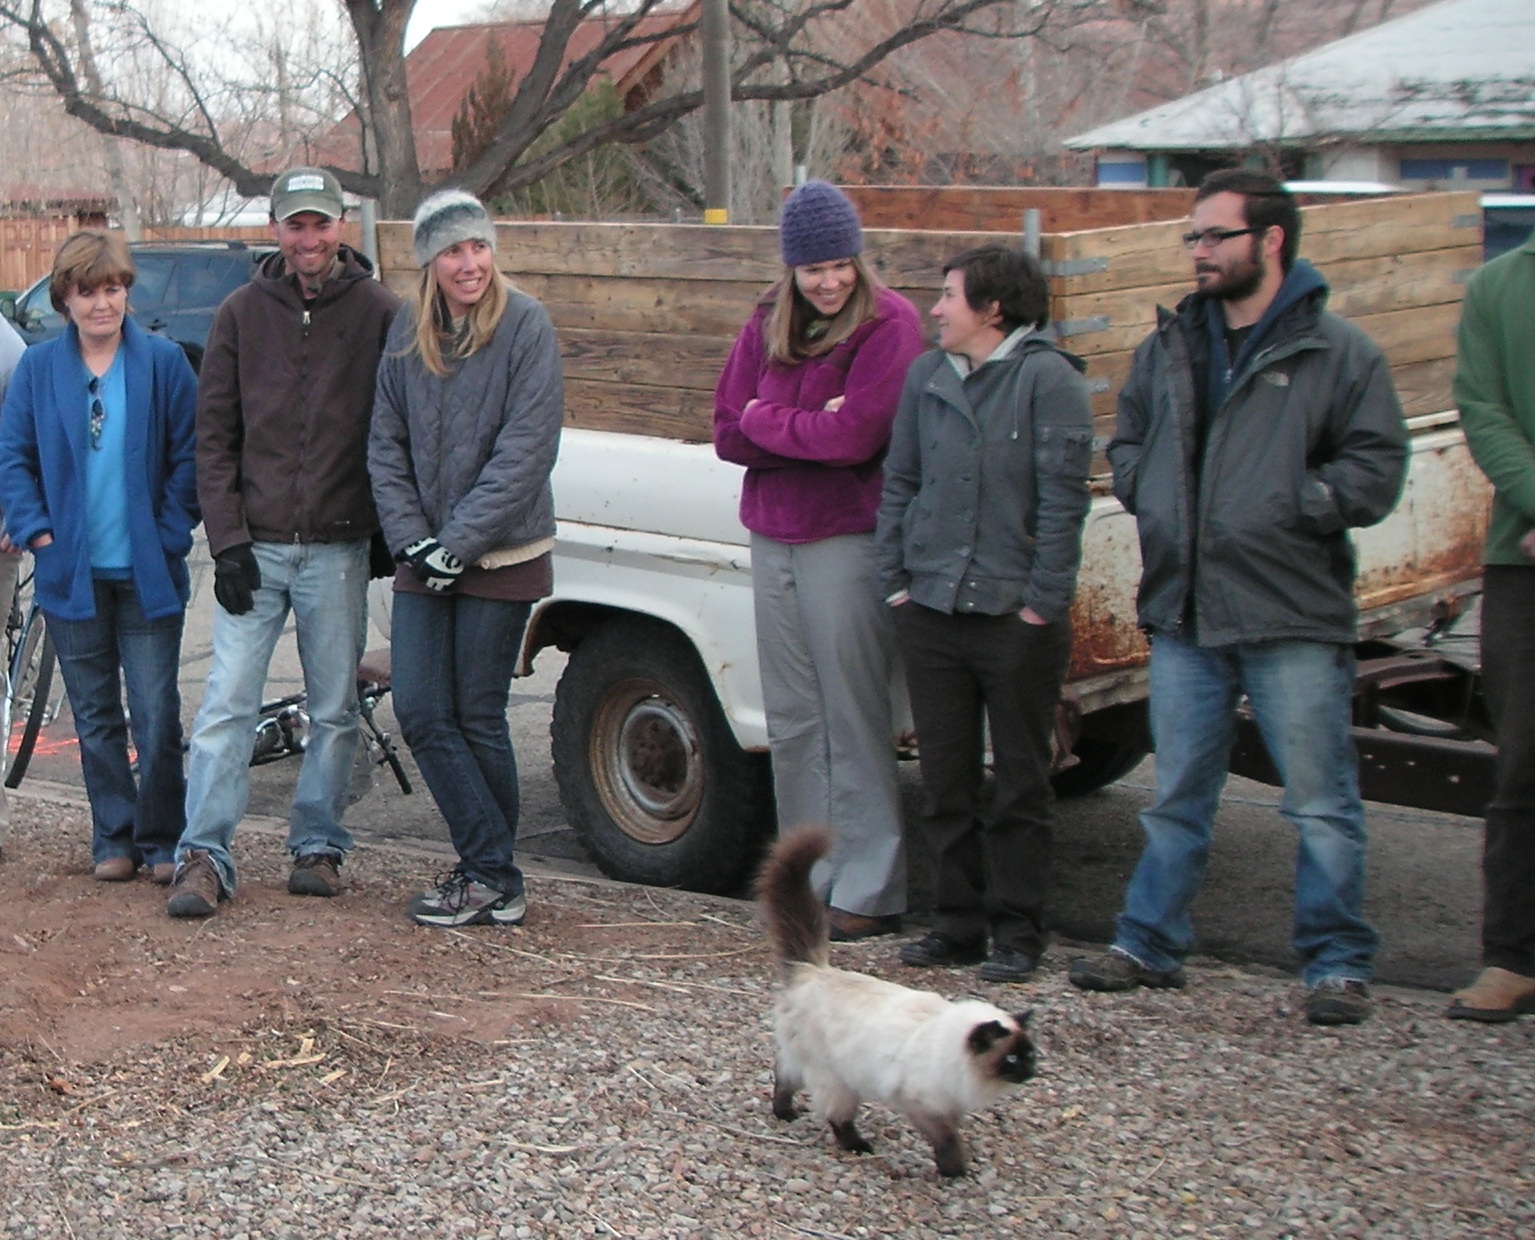
Wednesday morning we met up for the official groundbreaking ceremony. Emily said a few words about the gaining in momentum of community rebuilds and everything we were hoping to accomplish with this build (below).

Standing across from us were friends of the organization, the board of directors, neighbors, and the cat that visits us every morning, who goes by Snufflekins, Litterbiscuits, or Dr. Meow (below).
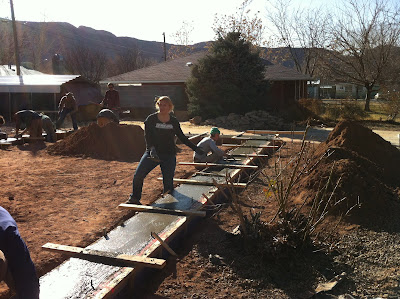
When the crowd cleared out, Tony started up the Bobcat and leveled the house site for us. Then we measured out the space our foundations will take up, plus room on each side to move. Kelly is checking how level the foundation trenches are with a laser level (below).

Then we pull out the Dr. Seuss looking pounding machine- jumpingjack or wackerpacker- to ensure our base earth was firm and ready to receive concrete. Eric shows Claire how to use it below.

Next we add stakes, guided by our exterior lines, and set up rails to hold foam insulation and the poured concrete. End of a cold, damp Wednesday.

The next morning, we have formed a box perimeter to pour concrete into. This is a shallow foundation, the center will be filled with some gravel. The straw bales and radiant-heated adobe floor will sit on top.

Kelly Ray and Dave pay as a visit with densely packed straw bales from Colorado, we were all so happy to see Kelly Ray again!


I got to be my dad for a day as I tie rebar together that will reinforce the concrete.


On Friday morning, we finished the adjustments, finish tying rebar, spray for termites, check all our pipes (electric, sewer, water, greywater). A neighbor down the street, Kathy, brought us fresh baked bread, covered in butter, with sides of honey and homemade peach jam for a mid-morning snack. We loved it! What a welcoming neighborhood!

In the afternoon, our forms passed inspection and the concrete truck rolled in. We took turns shoveling the concrete, magging (leveling the concrete into the forms), and working the surface to a smooth finish.

Friday evening, after a long week of work, we drove up to Slickrock trail, climbed up some rocks, and watched the beautiful sunset.


Subscribe to:
Comments (Atom)